The title of your page or post is one of the most important elements of the page. Not only does it tell your audience what the page will be about, but it also tells search engines which helps to improve your chances of ranking.
In this post, we're going to show you how to add a title to your posts or pages in WordPress including how to add title tags using plugins.
Let's get started.
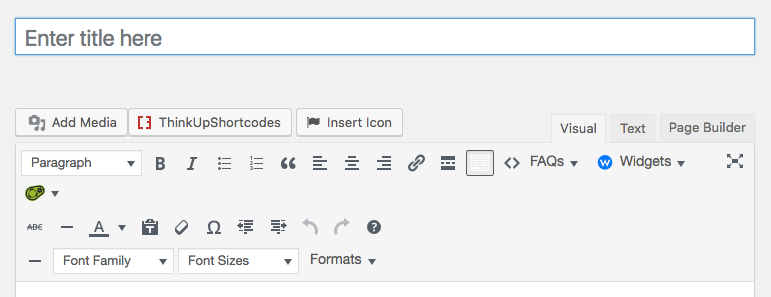
Whether creating a page or a post, the title input section is in the page or post editor which allows WordPress to effectively generate the title based on your input.
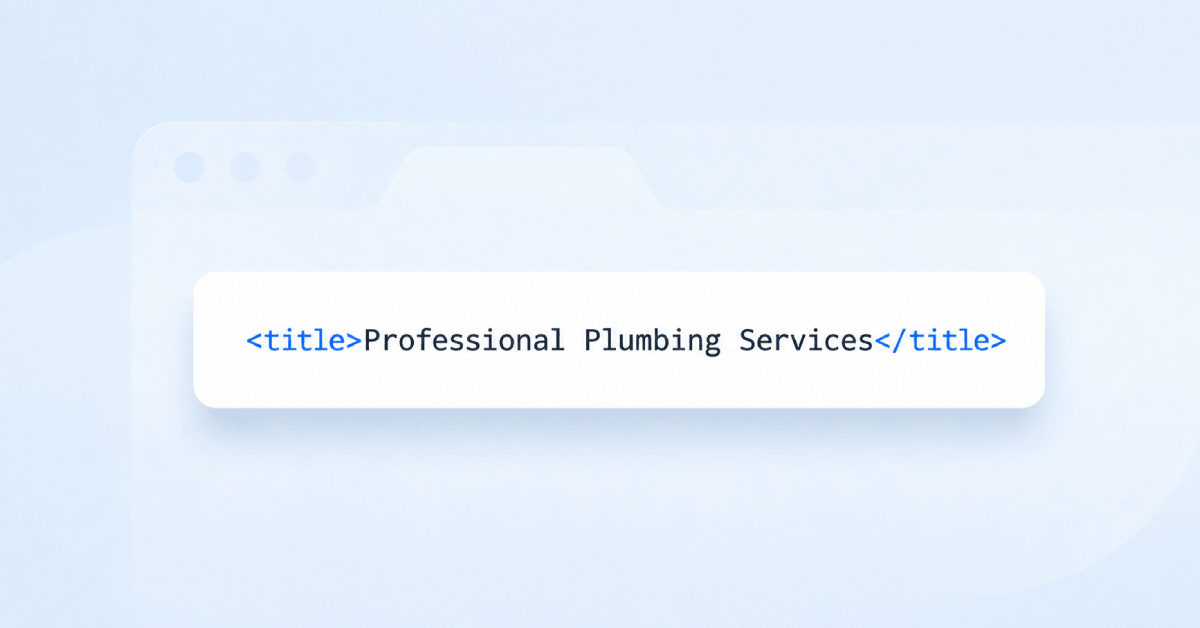
Once you've set your title, your theme should then declare the title as <title>. This title tag makes it easier for Google and other search engine's bots to identify the structure of the page and to identify what the title is.
In addition to the title, you may want to introduce a title separator (e.g. :, |, -, or >>) or a sitename after the actual title like in the example below:
“How to create title tag on WordPress - SEOptimer”
Note: We strongly recommend not adding a separator or sitename in the actual WordPress title input field since it will also display on the actual page or post.
Click here to learn more about how to create title tags.
With some themes, titles will be the actual H1 heading for your page or post.
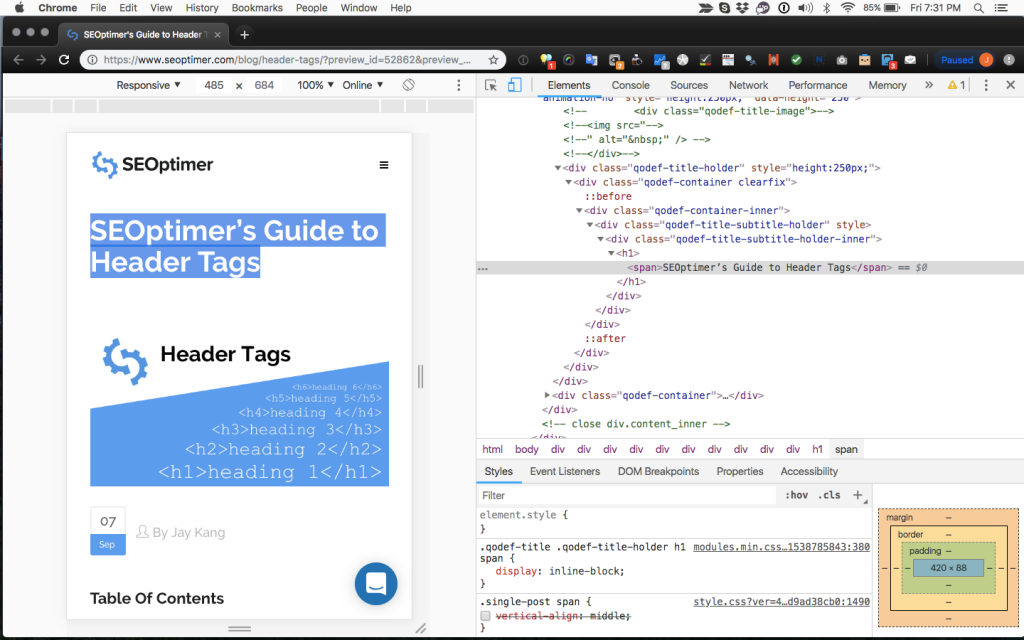
Here is our SEOptimer’s Guide to Header Tags example:
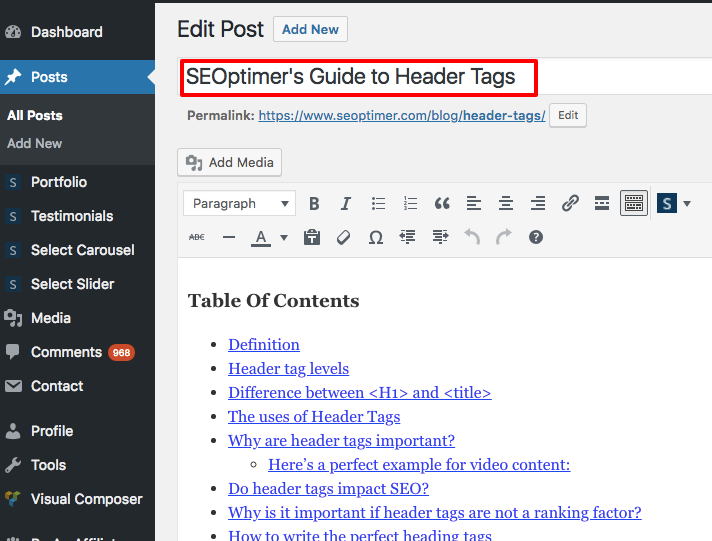
Here we see the title displayed as <title>:
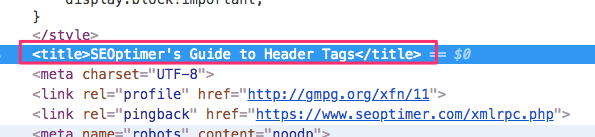
It is also displayed as the <h1> tag:
You can use several WordPress plugins to create title tags that won’t display on the actual page or post.
Should You Create a Dynamic WordPress Title Tag Without a Plugin?
There’s a few how-to guides regarding how to add title tags in WordPress without a plugin. However, doing this presents a small problem: adding meta descriptions.
Most SEO plugins that allow you to add title tags also offer meta description input. (We’ll provide more information about these plugins later in this guide.)
If a plugin offers both title tag and meta description input, then what is the point in having a dynamic title tag?
Meta description should not be dynamic or a copy of the first few sentences and should be standalone text that helps search engines understand the content of that specific page.
We understand that to truly create an optimized WordPress site, using fewer plugins is always best. WordPress is a resource intensive platform; if you are running a shared hosting account, you are sharing the number of resources available within that group.
If one site in the shared account group requires extra bandwidth, it borrows from other sites within that group, eventually causing your site to require more bandwidth.
You cannot use plugins and create dynamic title tags by editing your header.php file. So, it’s fairly safe to say that having a plugin for creating title tags is the best option, simply because it will solve the meta description issue.
How can Title Tags Be Generated Dynamically?
Below is a guide in case you want to learn more about how title tags can be generated dynamically. Its purpose is to help you understand that plugins are the best option when improving SEO for your site.
Here’s how it works:
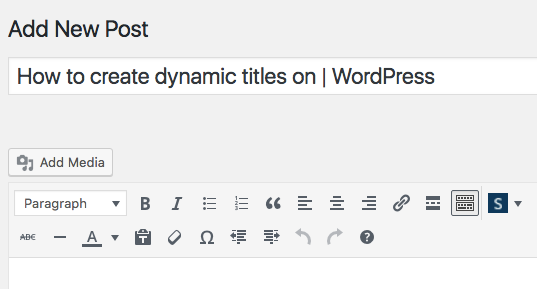
You’ll first need to create a title in your WordPress site.
Our example of the title will be “How to create title tag on WordPress - SEOptimer”.
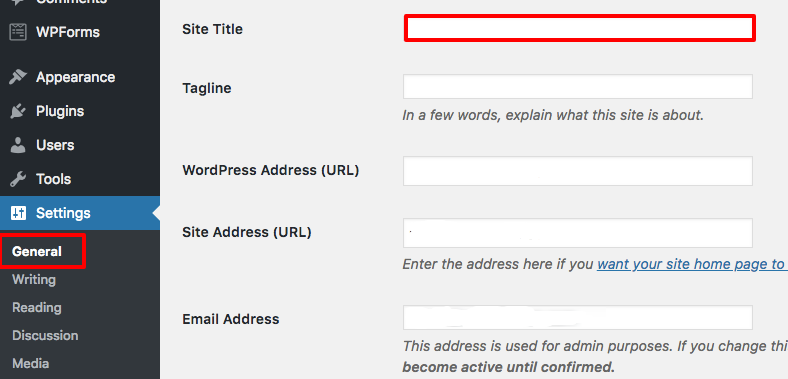
You must enter the Site Title (SEOptimer, as an example).
You can edit this title under Settings > General > Site Title:
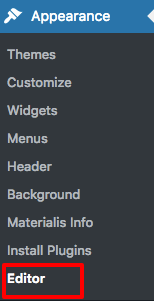
Once you’ve added your Site Title, you must go to Appearance > Editor > Header.php:
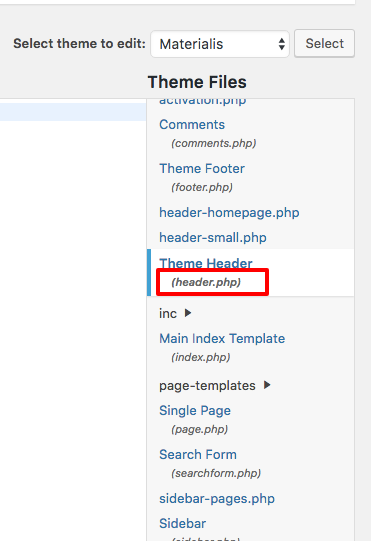
The main file might vary depending on the theme you selected for your site. In this case, the header.php file is under the name Theme Header:
Locate the <head> element in the header.php file:
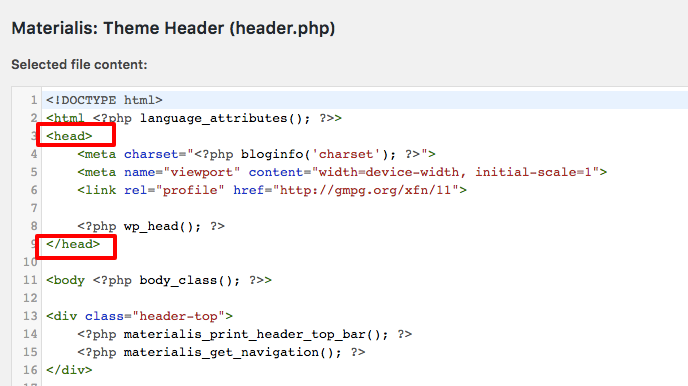
Within the <head> element you must add the following code:
<head>
<title><?php wp_title(' | ', 'echo', 'right'); ?><?php bloginfo('name'); ?></title>
</head>
This will then provide input based on what the page is about:
- The Home page – outputs the name of the site
- Individual pages – page title | name of site
- Single post views – post title | name of site
- Archived post views – outputs the name of the site
- Date-based archives – year and/or month | name of site
- Category archives – category title | name of site
- Author archives – public username | name of site
- 404 error pages – outputs the name of the site
- Search results – outputs the name of the site
- Tag archives – tag name | name of site
In some cases, you do not want to use the dynamic “name of site”. For instance:
How to create dynamic titles on WordPress | SEOptimer
Instead, use:
How to create dynamic titles | WordPress | SEOptimer
Including additional separators can help users identify and easily digest your intent.
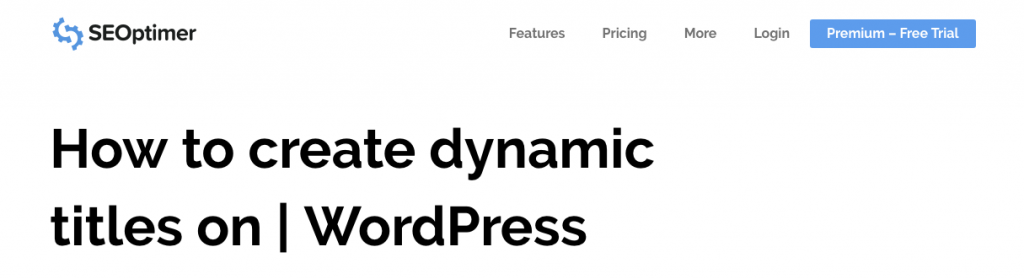
In order for you to accomplish this, you must enter that separator in the actual post title:
However, you do not want to use the separator within the title post itself, as it will display like this (screenshot below):
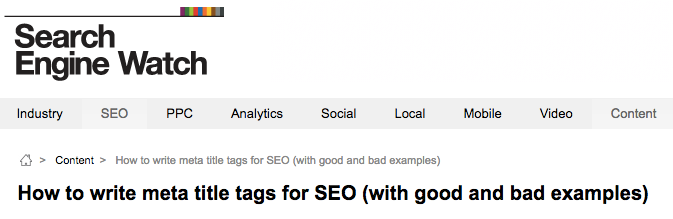
In the Search Engine Watch example, their title does not show any separators:
To truly optimize your title tag based on user intent within WordPress, we strongly recommend using a plugin.
How to Add Title Tags With a WordPress Plugin
Yoast and All in One SEO are the two most popular plugins to help with your title tag needs and they're fully customizable.
Adding Title Tags With the Yoast Plugin
With Yoast, you can use their SEO title section to create your title. Their plugin should remove <title> from the theme files and replace it with theirs.
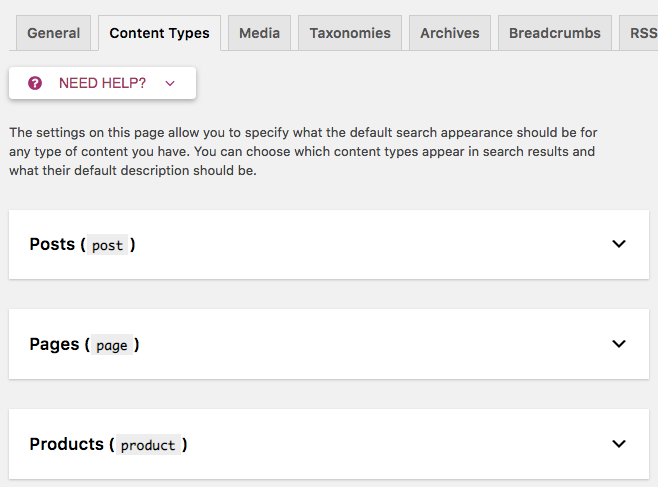
If you want to default your settings to include a separator or sitename in your page or post title (not recommended), you can add those criteria under Yoast > Search Appearance > Content Types:
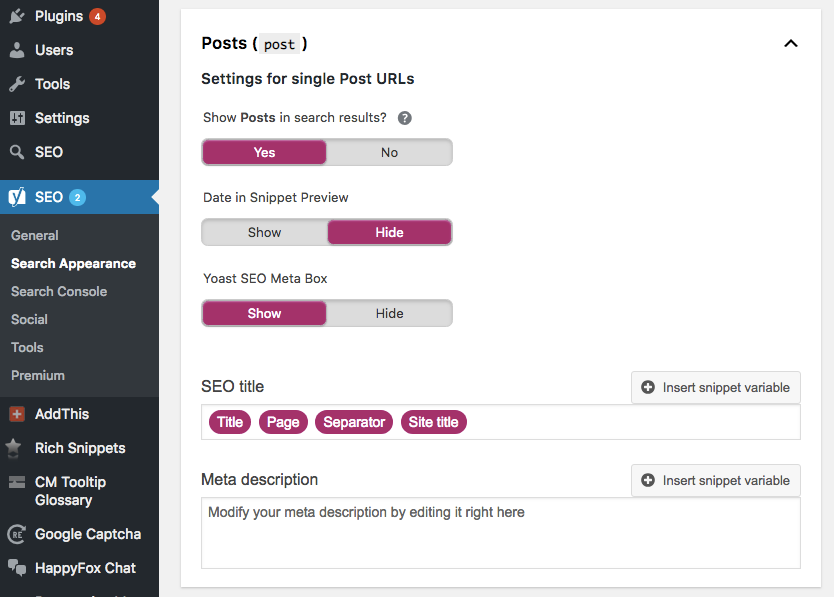
As seen above, if you enable this, your WordPress title will be added along with the page number, separator and sitename.
You can add different snippet variables to each section, such as posts, pages, products and others to automate your title, page, separator, and site title. Simply select which section you want to create a snippet variable for:
Be sure to get in the habit of editing each title within the page or post you’re creating. It is entirely up to you to enable or disable this feature so you can enter each individual title tag.
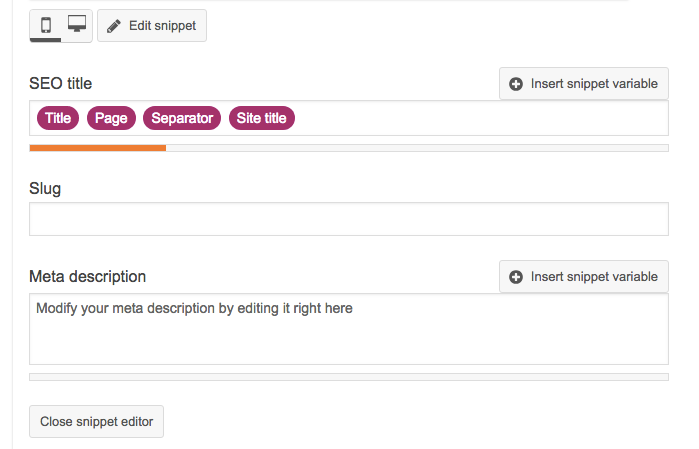
To modify the title tag for a specific page or post, go to the actual page and, just below the WYSIWYG editor, find “Yoast SEO”. Click on either the Title or Edit snippet button:

Here you will see the defaulted settings for your SEO Title, which you can remove to add your own.
Adding Title Tags With the All in One SEO Plugin
Another great plugin you can use is the All in One SEO plugin. While each plugin has its own features and benefits, both are great options when it comes to adding title tags.
You can update your title tag just underneath the WYSIWYG editor of the page or post you want to update.
Although the best practice is to remove all formatting, you can also enable formats in All in One and enter each page or post title manually. The format is similar to that of Yoast’s snippet variable.
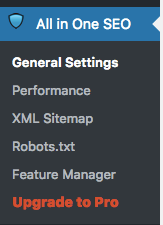
Go to the All in One SEO section of the WordPress dashboard > General Settings:
Here you have the option of rewriting titles (enabled), capitalizing search titles and page title format:
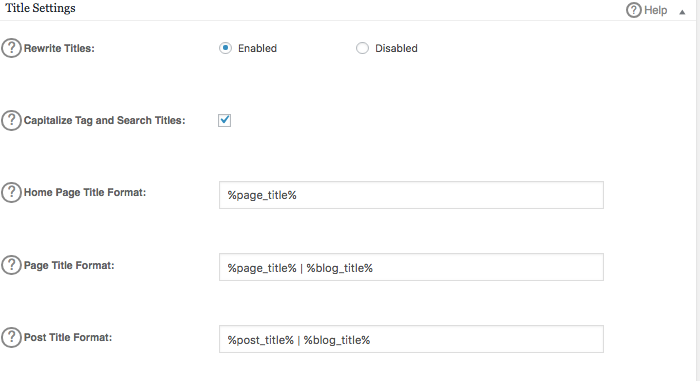
If you click on the question mark, you’ll find more information, where you can find the following format:
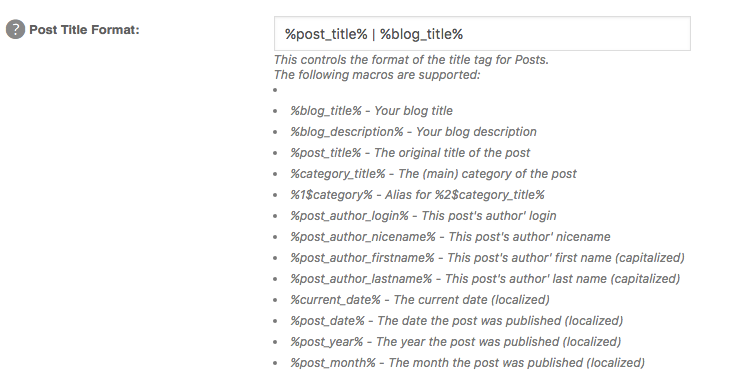
Separators can be added between each format. If you simply want to automate your site’s name, you can add “- SEOptimer” and add any of the following formats previously mentioned:
%blog_title% - Your blog title
%blog_description% - Your blog description
%post_title% - The original title of the post
%category_title% - The (main) category of the post
%1$category% - Alias for %2$category_title%
%post_author_login% - This post's author' login
%post_author_nicename% - This post's author' nicename
%post_author_firstname% - This post's author' first name (capitalized)
%post_author_lastname% - This post's author' last name (capitalized)
%current_date% - The current date (localized)
%post_date% - The date the post was published (localized)
%post_year% - The year the post was published (localized)
%post_month% - The month the post was published (localized)
Conclusion
Whether you choose to use a plugin or not, ensure that your title is catchy and that your content delivers on what you promised in your title.