At SEOptimer we love customer feedback. Our product roadmap is heavily influenced by your suggestions and functionality requests. So in our recent update, we're glad to announce 6 big new features that you've been asking for.
Keyword Rankings in All Reports
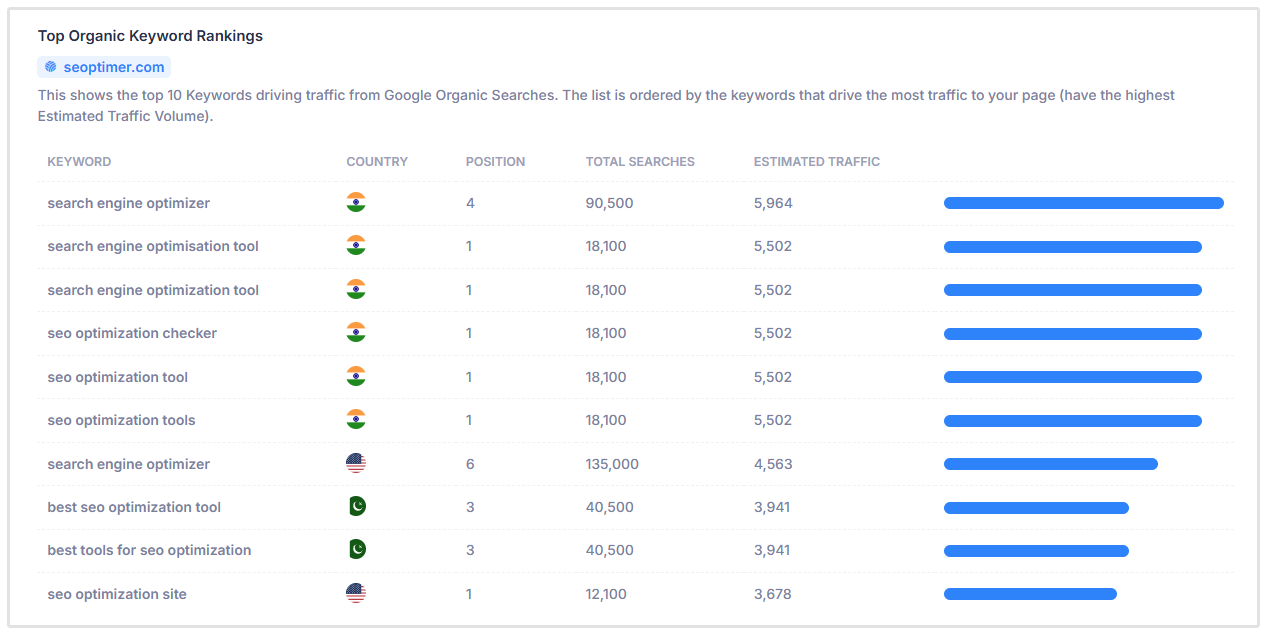
We've added a new "Rankings" section to both Quick Audits and White Label Reports. This addition enables you to add even more value to your clients or prospective clients with keyword ranking data.
The new Rankings section contains 3 insightful sub-sections:
-
-
- Top Keyword Rankings: this table lists the top 10 keywords by highest estimated traffic. Rankings are global so if you enter a site that ranks in multiple countries you will see the relevant flag show for the country. The table lists the position each keyword appears on search result pages, how many total monthly searches there are on each keyword and the estimated monthly traffic driven by each keyword.
- Total Traffic From Search: this number is the estimated monthly traffic driven by all keywords the website ranks for globally.
- Keyword Positions: this chart breaks down the positions of all keywords the site ranks for globally.
-
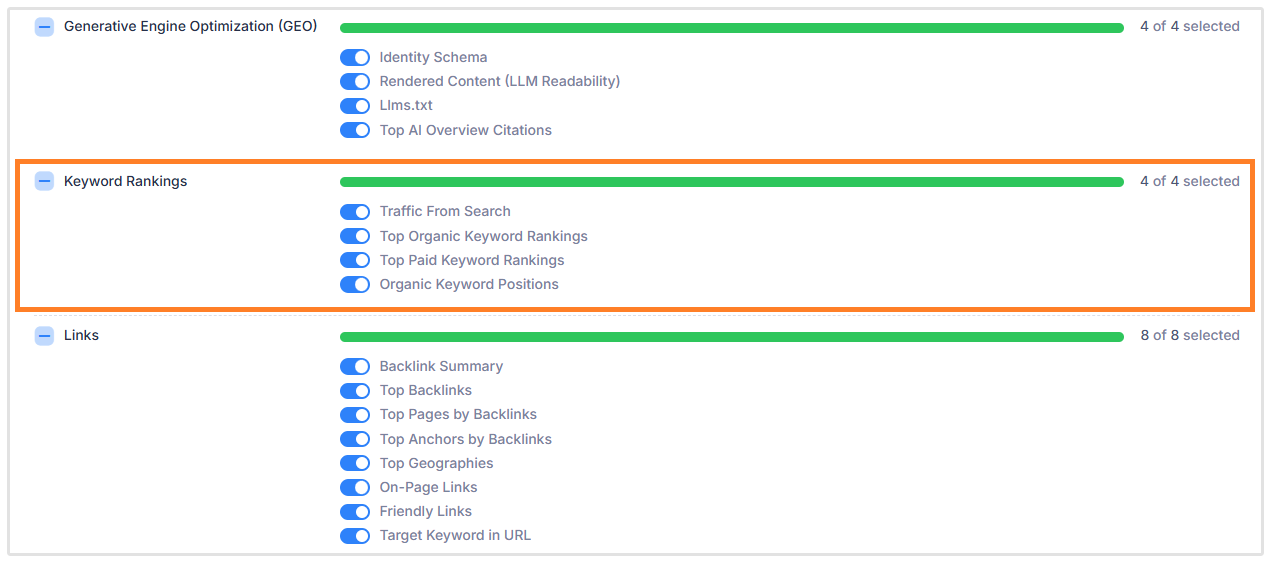
Please note: Keyword Rankings don't affect audit scoring - they are for informational purposes only. For customers on our White Label or White Label and Embedding plans, you'll need to turn on this new Rankings section in your Report Templates as it will be off by default for any existing templates you've created:
In keeping with our long history of being the first to launch new features, we're glad to announce we're the first SEO tool to provide Keyword Rankings in SEO Audit Reports.
Zapier Integration
We now have a native Zapier app with a "New Lead" trigger. For customers on our White Label and Embedding Plan, you can now use our native Zapier app to trigger any action when a new Lead is received through the Embeddable Audit Tool on your website.
By far the most popular action is to push the Lead data into a CRM like HubSpot, Salesforce, Zoho, Pipedrive and others.
Many agencies use our existing Webhook to do this. If you're already using our Webhook to push SEOptimer Leads into Zapier or any 3rd party tool, there's nothing further you need to do.
However, for customers wanting to automate their lead generation workflow for the first time, our new Zapier app is perfect for this!
Simply visit Embedding Settings and scroll down to the bottom of the page:
.png)
Copy the "Zapier Authorization Key" (this key is unique to your account and should not be shared with anyone), then click the blue button "Add SEOptimer to your Zapier account".
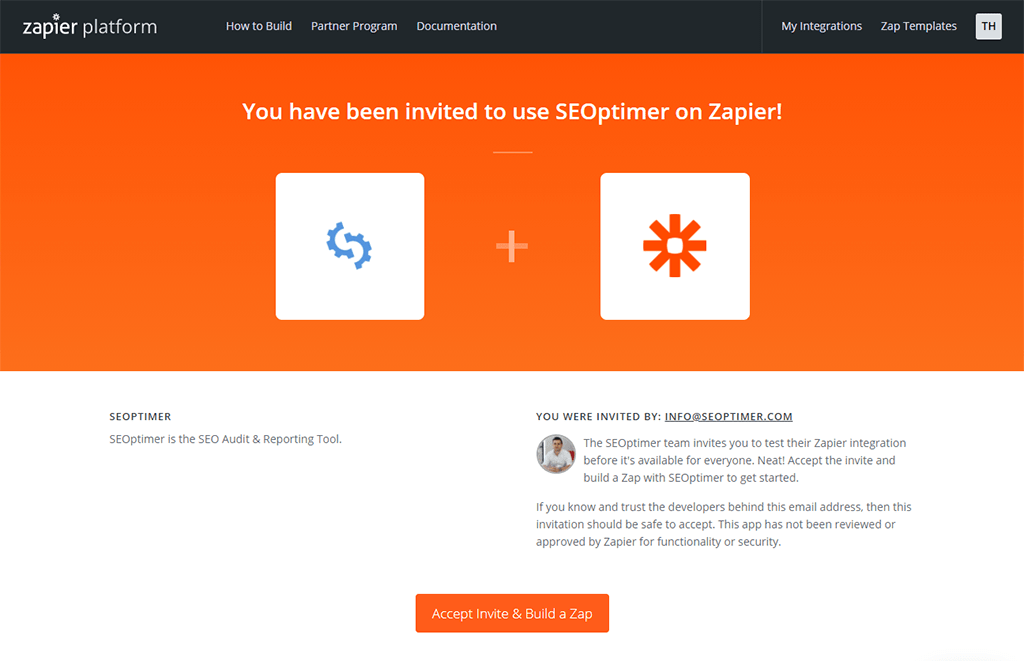
This will launch the Zapier Platform page. Click the "Accept Invite & Build a Zap" button:
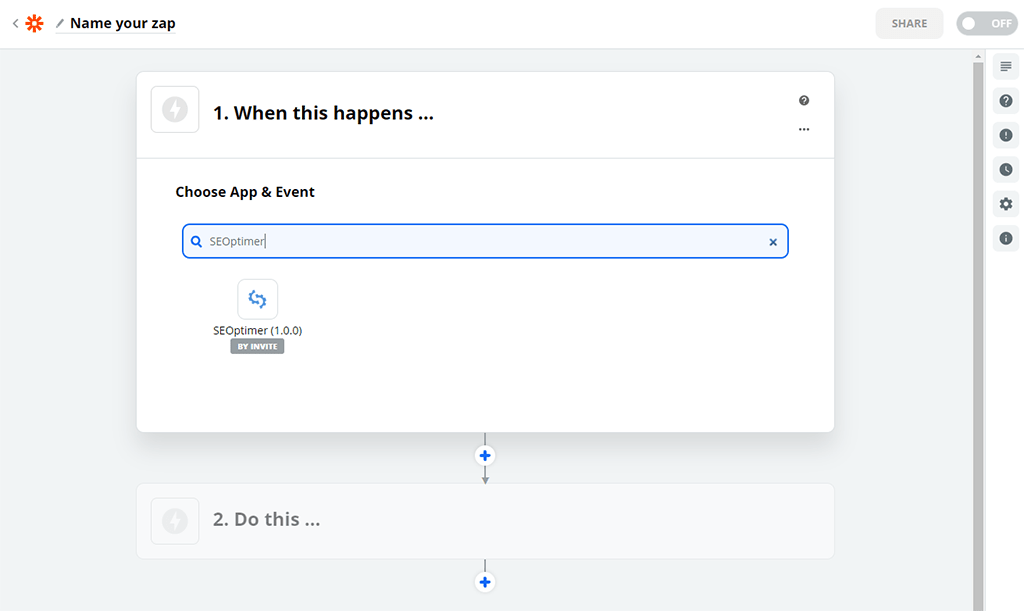
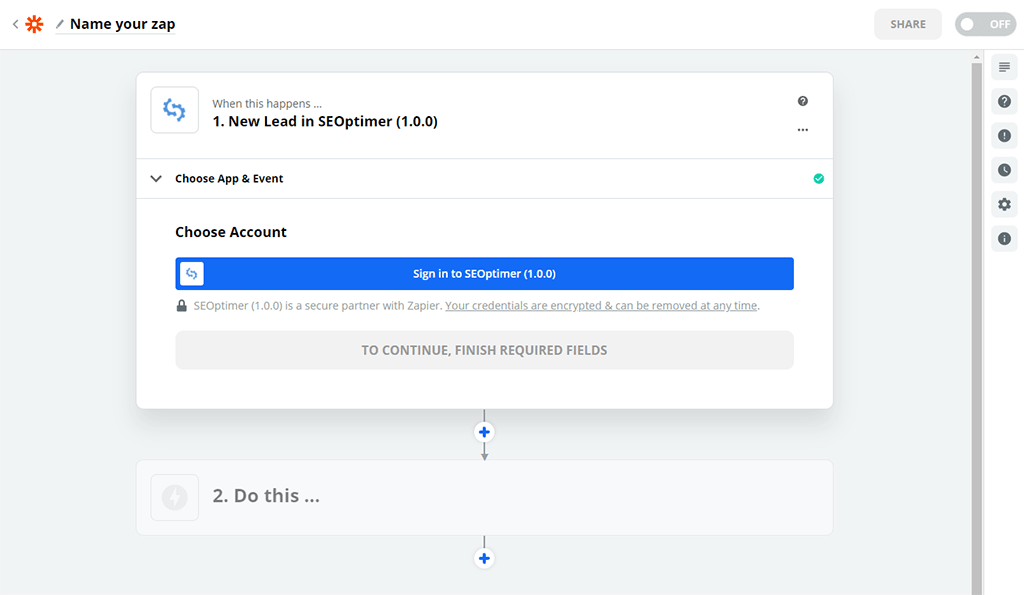
You will then be taken to your Zapier dashboard. Click the "Make a Zap" button in the top left. You will then need to search for SEOptimer in the "Choose App & Event" field. Then click the SEOptimer (1.0.0) app:
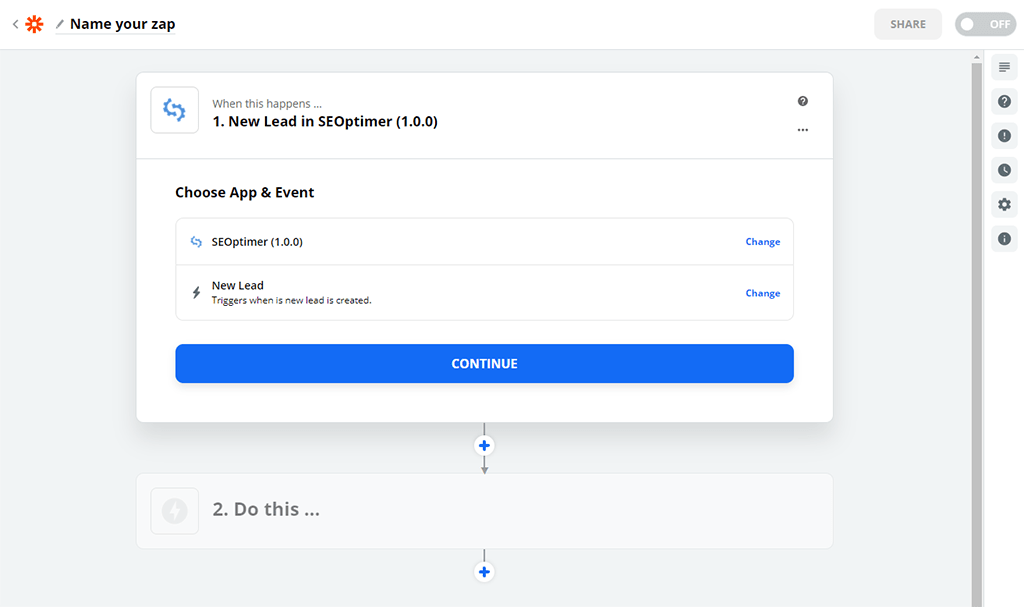
The only available trigger is "New Lead" so its selected already, just click Continue:
You'll then be prompted to sign in to SEOptimer (if you're not already), click the "Sign in" button:
This will launch a popup window where you'll need to paste your API key (this key is unique to your SEOptimer account, remember never to share it with anyone else):
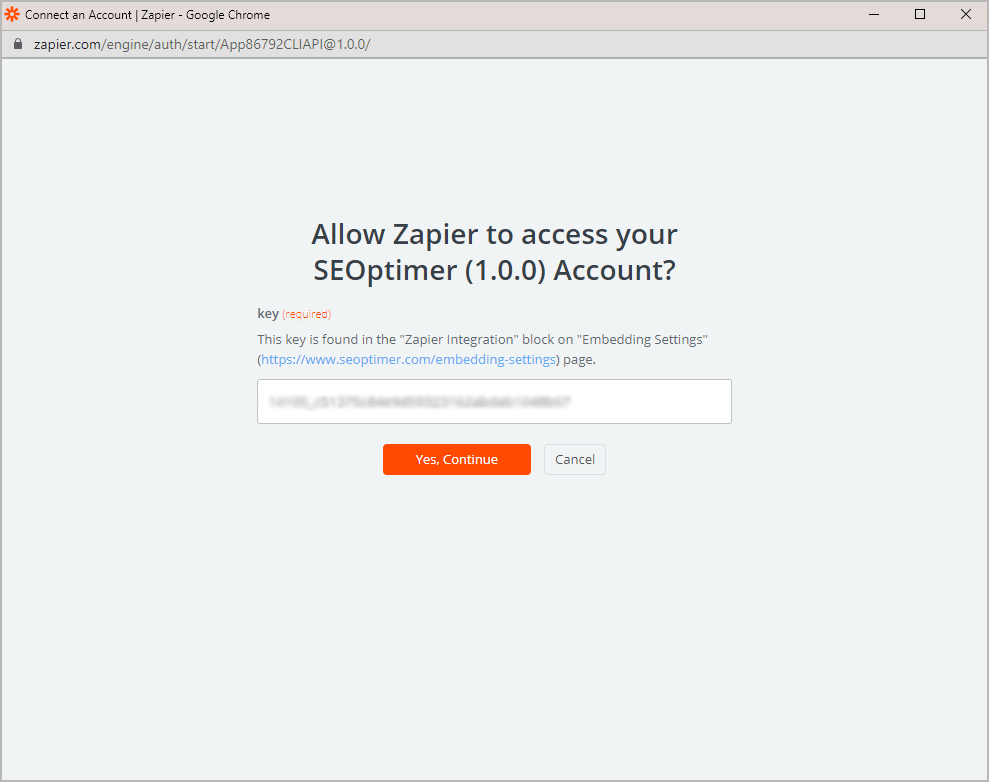
Click "Yes, Continue" and you'll return to the Zap setup with your account details pre-populated. Click "Continue":
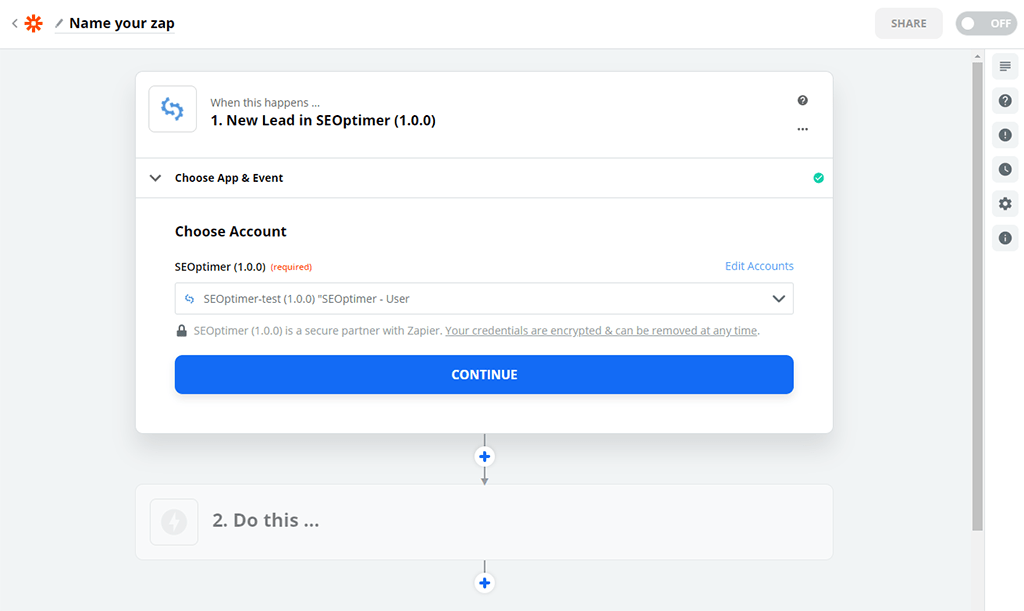
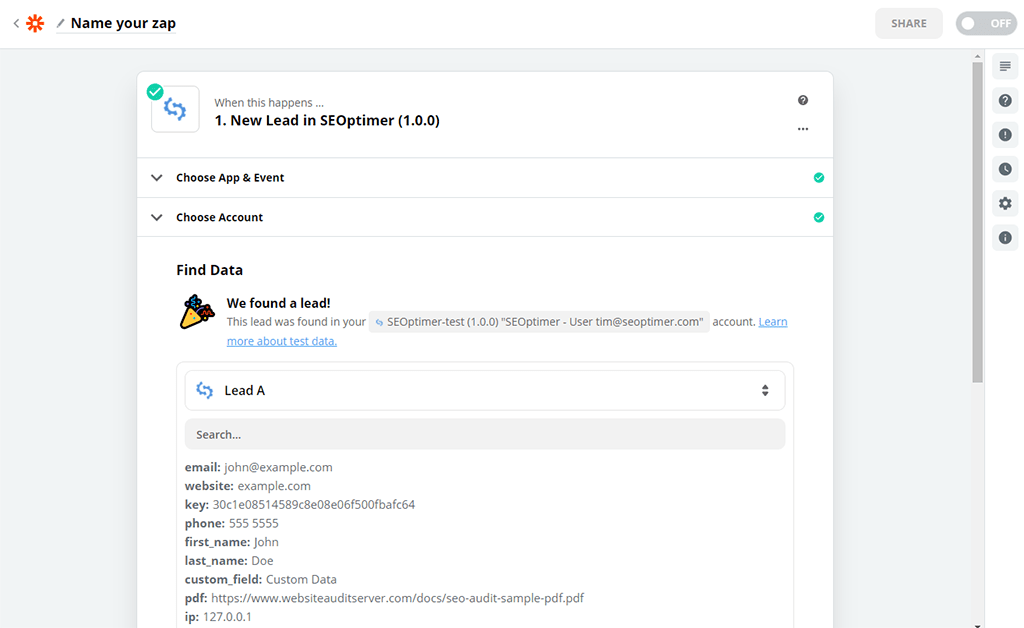
The SEOptimer setup is now complete. Click "Test trigger":
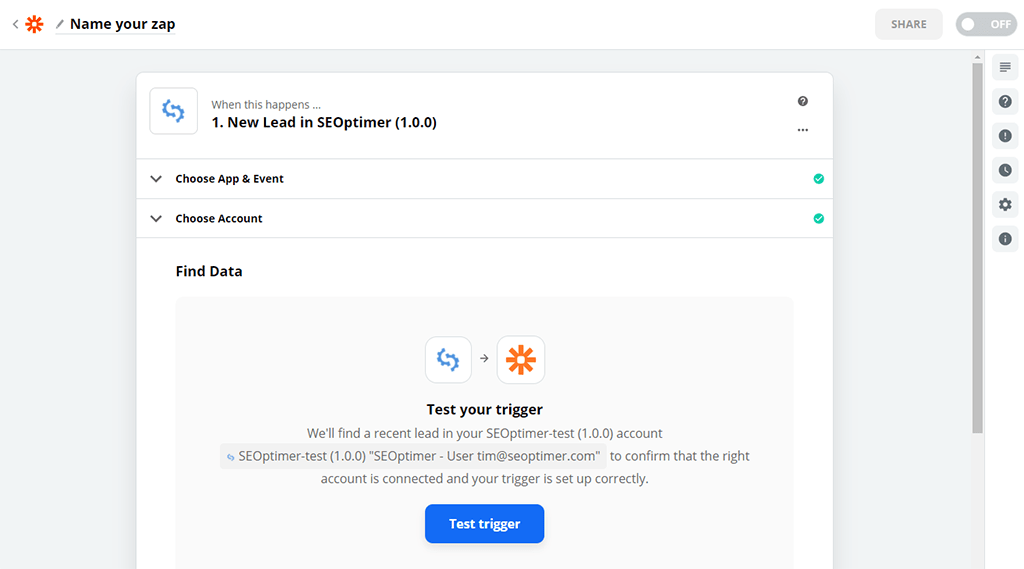
You'll see a test record called "John Doe" which we populate automatically so you can test the setup all the way through to your CRM. Click "Continue" at the bottom of this confirmation page:
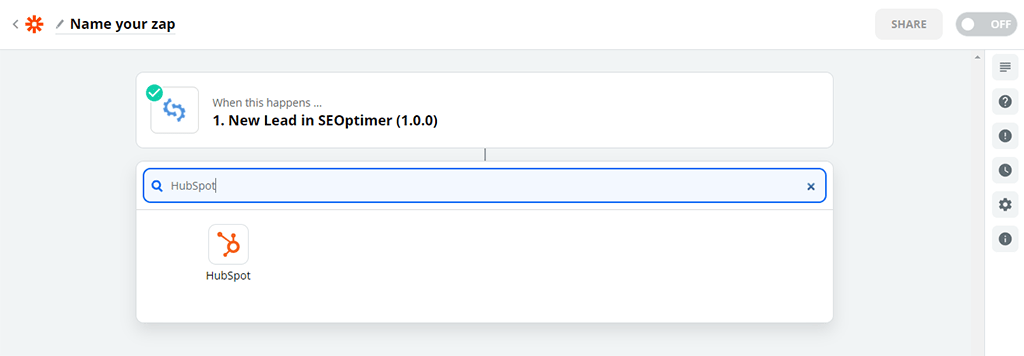
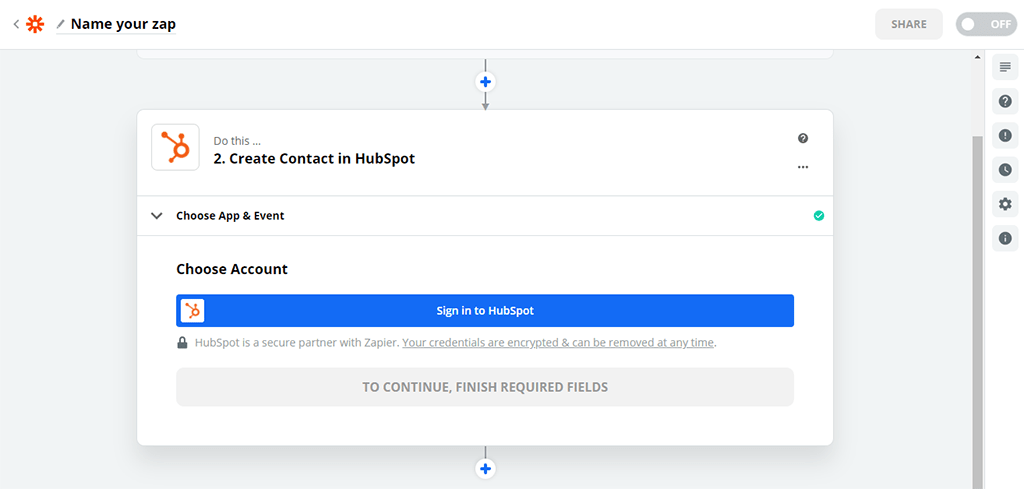
Now its time to choose the Action step. Search for your CRM in the search field. For the purposes of this guide, we'll use HubSpot as the example:
Choose the "Create Contact" event:
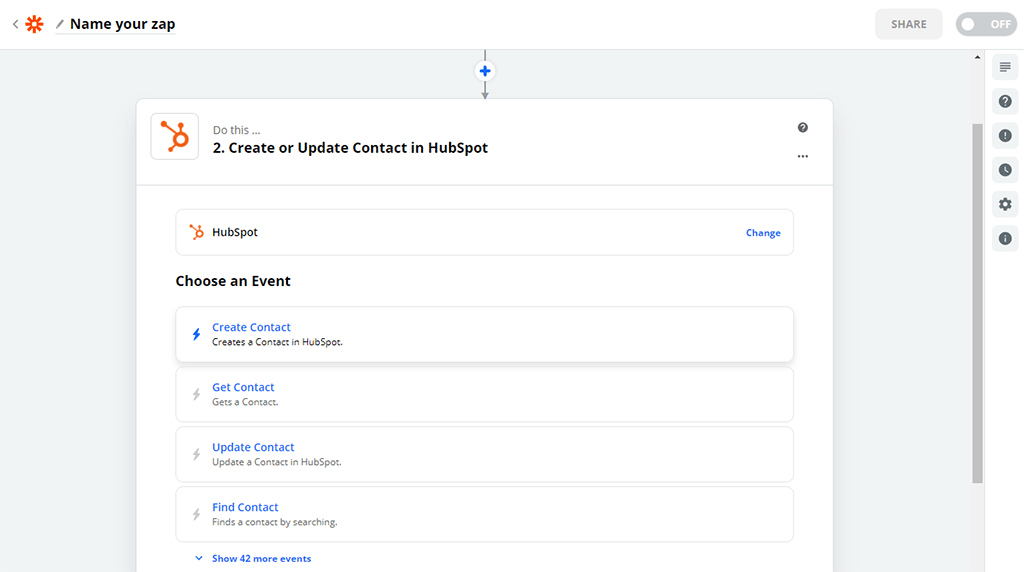
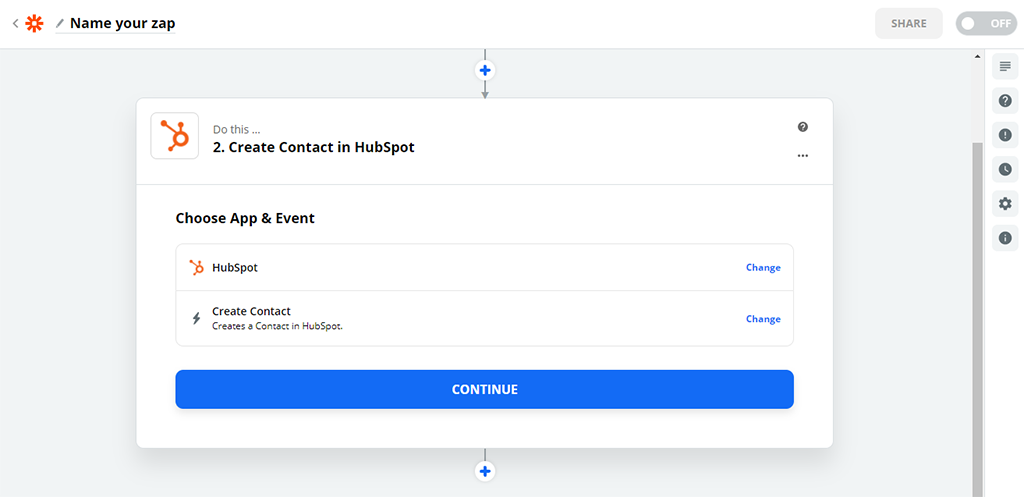
Click Continue:
Click "Sign in to HubSpot":
An authentication window will open, scroll down to the bottom and click "Grant access":
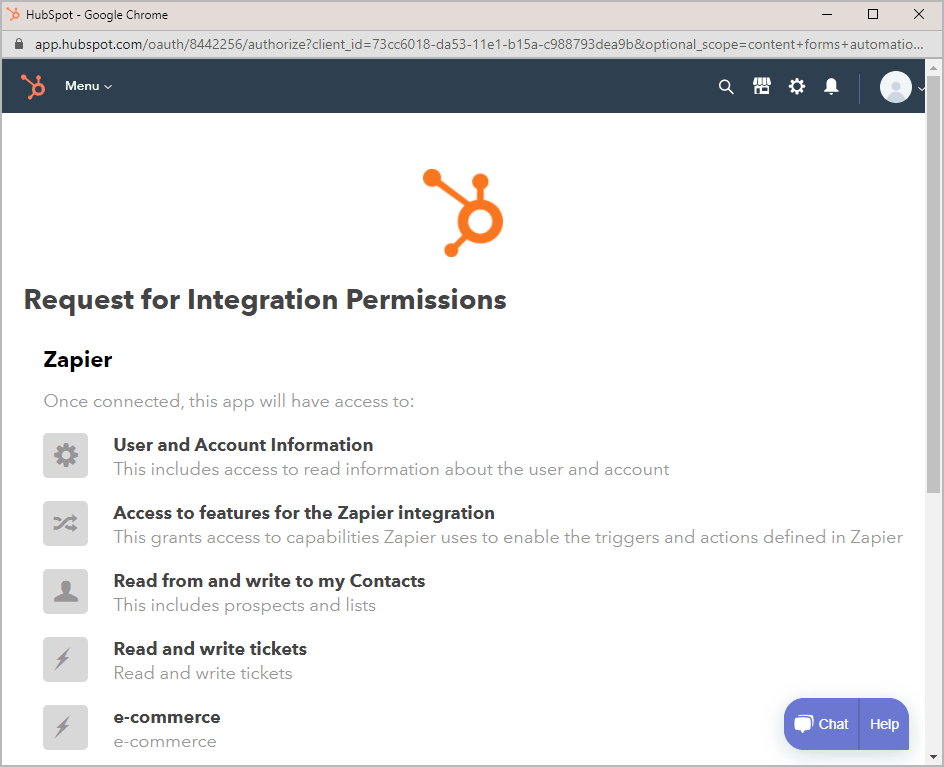
You'll return to the Zap setup with your account pre-populated. Click "Continue":
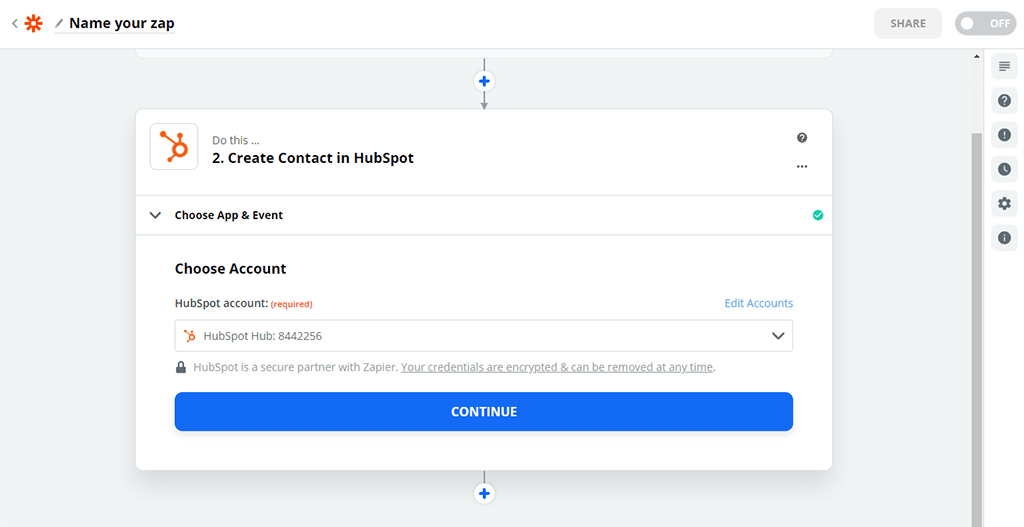
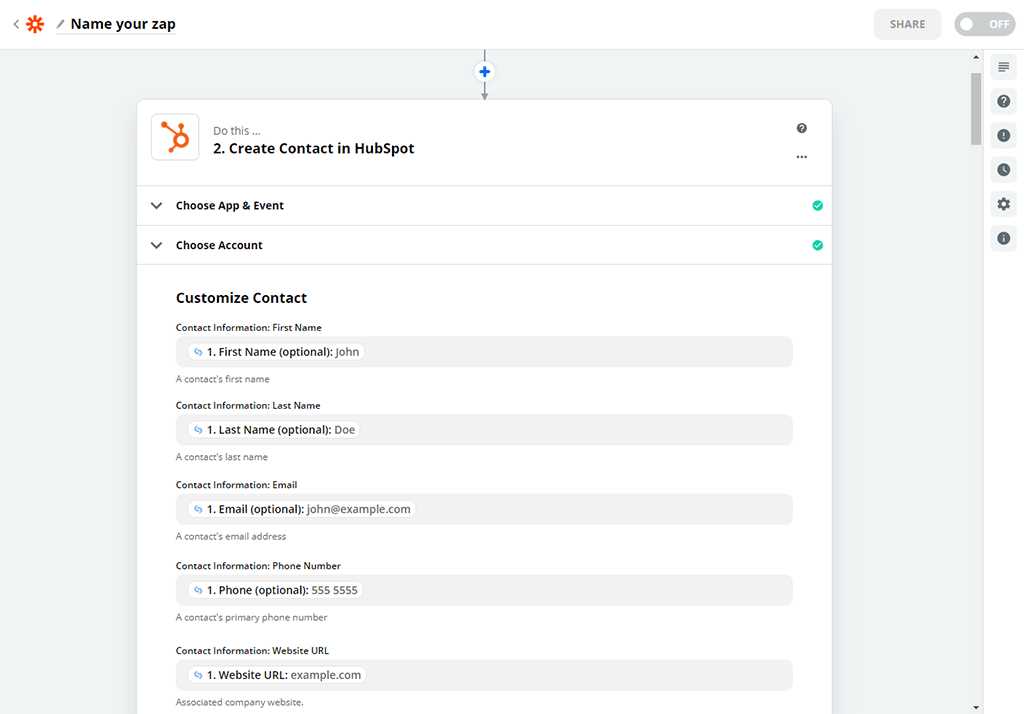
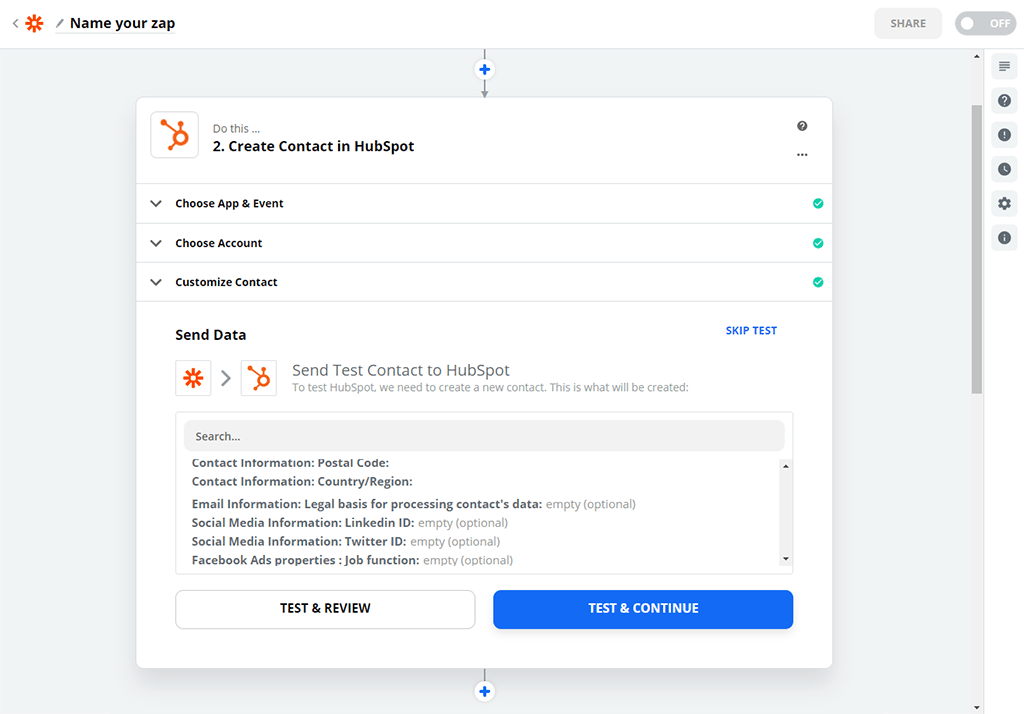
Now you need to populate the relevant HubSpot fields with the SEOptimer Lead data. If you've set up you Embeddable Lead Form to capture any custom form fields, you should create these same fields in your CRM first and then include them during this step so all form data is captured in your CRM.
In this HubSpot example, it loads a huge list of over 40 fields, so you'll need to scroll through carefully and select the correct fields to populate. Once you're finished, hit Continue:
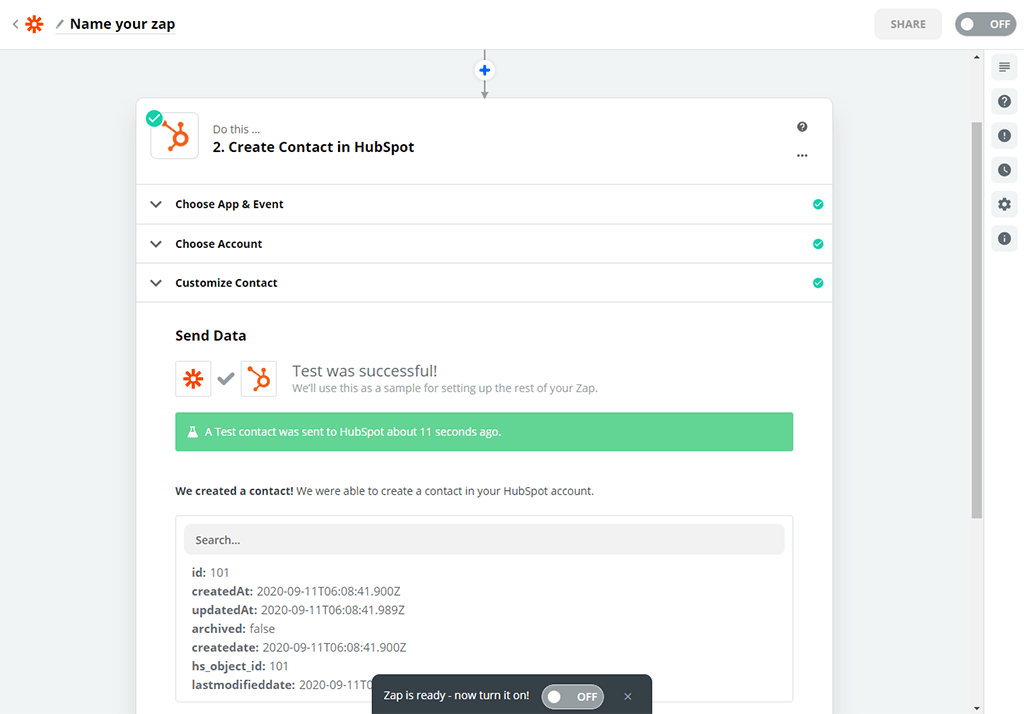
The final step is to run a test with the Lead data. Zapier will push the "John Doe" test into your CRM when you click "Test & Continue":
Once your test is successful. Don't forget to click the switch at the bottom of the page to turn the Zap on. Otherwise, it will remain off and nothing will happen!
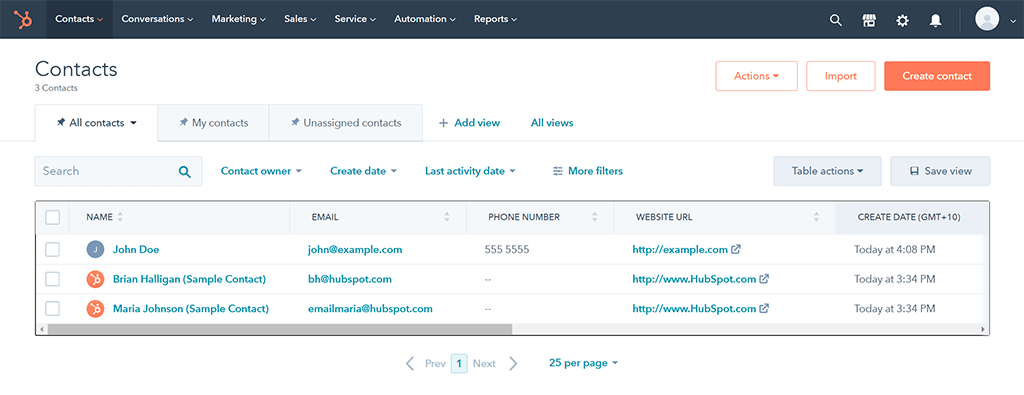
Open your CRM and you should see the "John Doe" test lead populated!
Numeric Scoring on White Label Reports
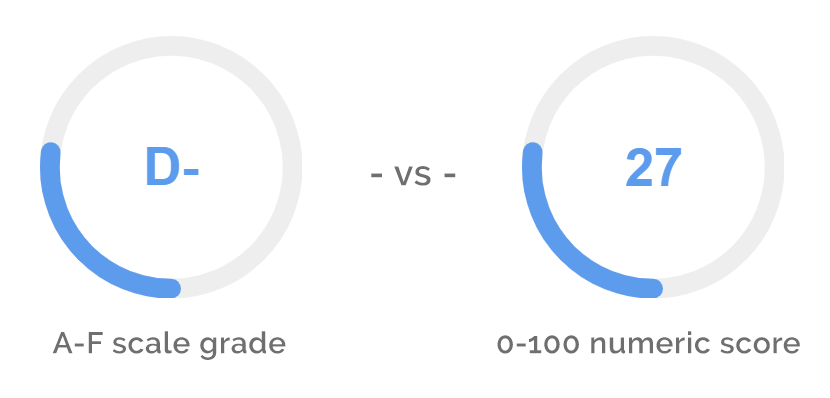
This was one of our most requested features so we're glad to be launching this new setting for White Label or White Label and Embedding customers. You can now switch between "grade" and "numeric" scoring in the Report Templates page.
This new setting is at the top of the page and can be set separately for each report template you have:
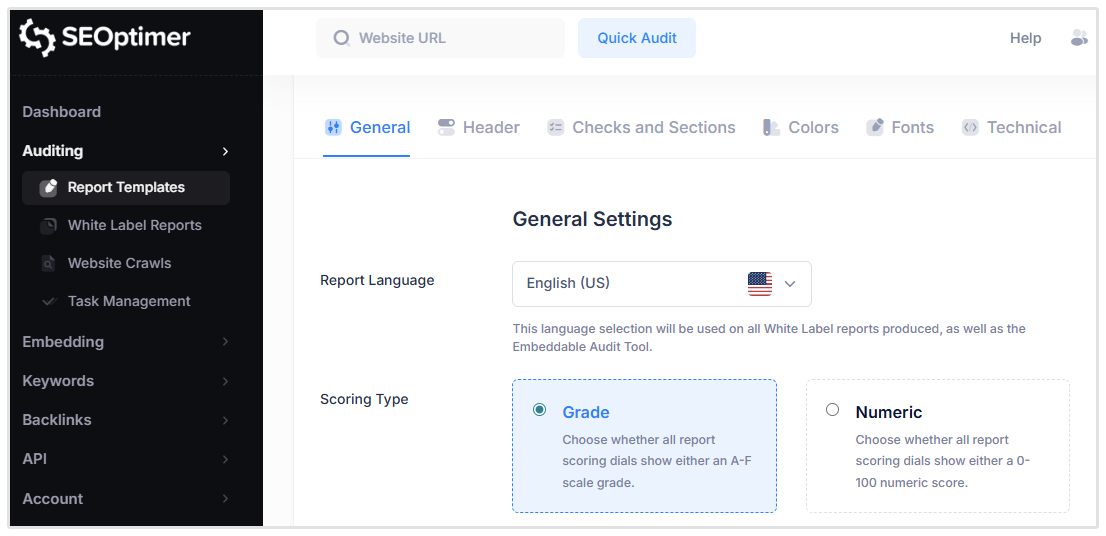
The default setting, Grade scoring, works on a scale from A+ (best) through to F- (worst). The new Numeric scoring works on a scale from 0 (worst) through to 100 (best).
When you switch the scoring type, all dials on the report will be updated. This includes the main dial, category dials and the dials within each report section. Whether you use grade scoring on numeric scoring, the actual scoring algorithm is the same and does not change.
Favicon on White Label Reports
For customers on our White Label or White Label and Embedding plans you can now white label even more aspects of the report.
The Favicon, <title> and meta descriptions can now be set. The Favicon displays in the top left corner of the browser tab and the <title> displays next to it in the browser tab's title bar. These fields can now be set on the Report Templates page.
Just click on the new "Technical" tab :
.png)
You can upload any type of image and we'll automatically convert it to a compatible favicon file. We recommend you upload a square (1:1) image that works well when scaled down to a 16x16 square.
These settings can be set at the Template level so you can define different favicon, <title> and meta descriptions for each template you've set up.
Once you've added a favicon and title, you'll see them on your white label reports:
.png)
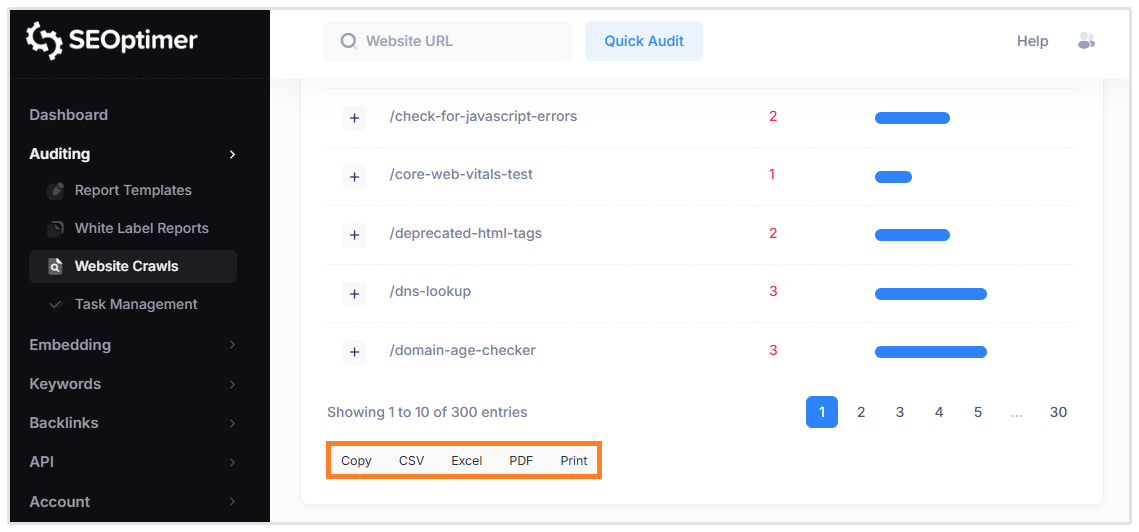
Improved Export Functions
We've improved the export functions which appear above tables all throughout SEOptimer:
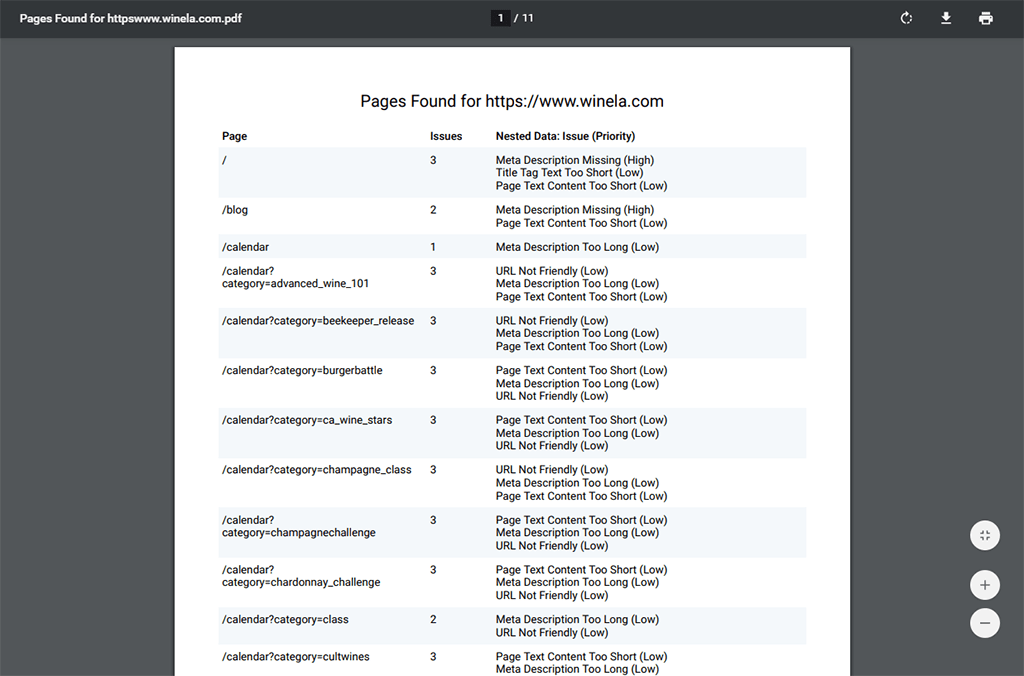
Below is an example of the new PDF export from the Website Crawls page:
Google AMP Check Added in all Reports
We've added Google Accelerated Mobile Pages (AMP) checks to the "Performance" tab of Audit Reports:

Please note: that the presence of Google AMP on a page does not impact the overall audit score, its purely for informational purposes.
We hope you enjoy these new features and remember you can always get in touch with us to request features you want to see in SEOptimer. Our product roadmap is heavily influenced by our customers. We look forward to hearing your feedback and suggestions.